Most lab bench power supplies are somewhat heavy and bulky. But don’t get me wrong, they are powerful and convenient. Since I needed a power supply for some time, I’ve decided to build one using parts that are readily accessible; like DPS power supply modules. I used the DPS3012 as the power control unit of my build. Since It can handle input voltages up to 40VDC, I used a 240VAC to 36VDC switching power converter as the supply.
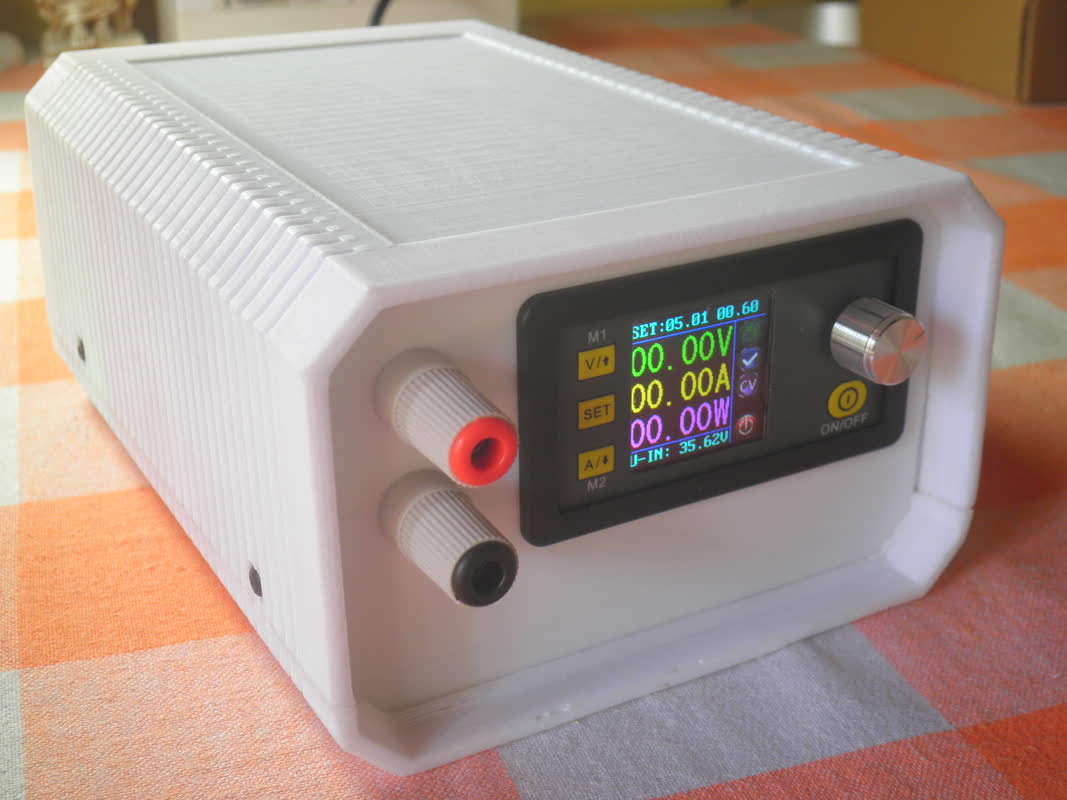
 Power Supply: Front
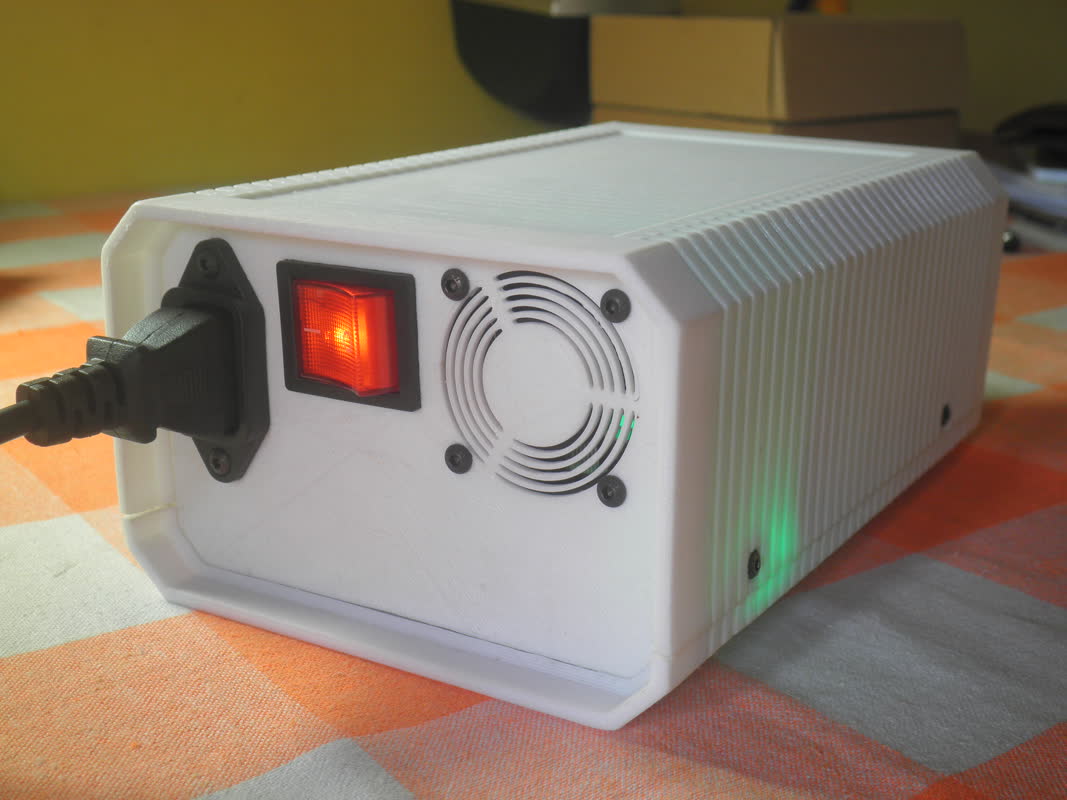
 Power Supply: Back
Although the DPS3012 can handle up to 12A of output current, the AC/DC converter I bought can only supply 5A. That limits my device from reaching its maximum capacity.
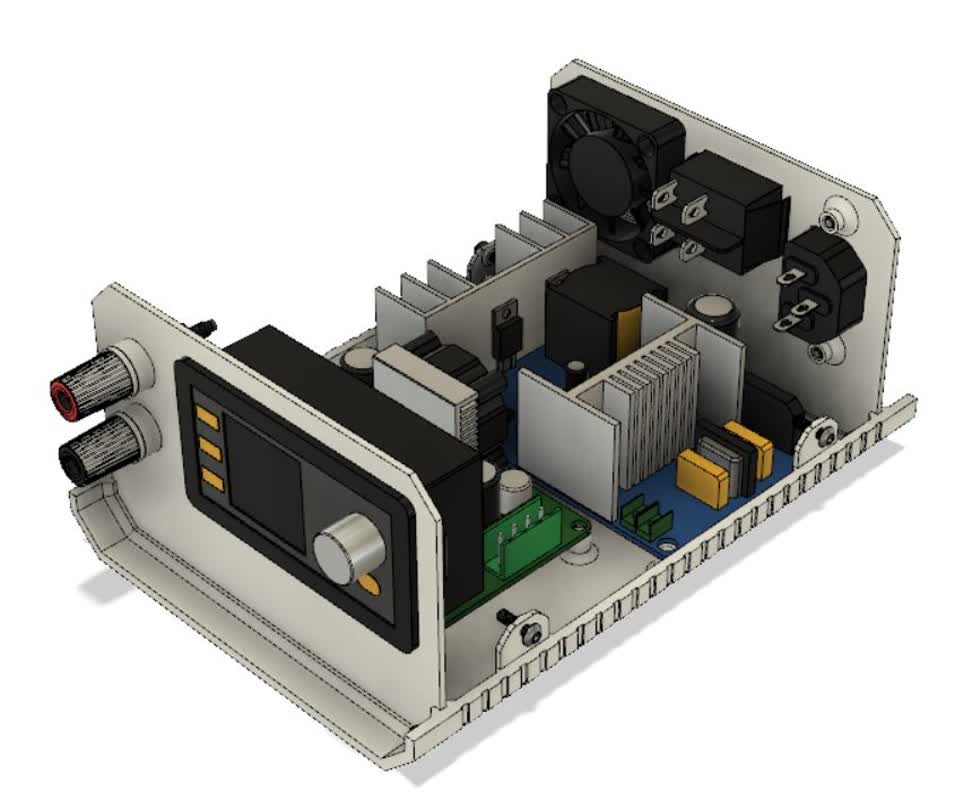
I’ve designed the encloser using Fusion 360. When designing something for 3D printing, especially designing enclosures, it is a crucial step to model each physical part. Then we can position each model in space with enough clearance for wiring and model our encloser around parts. This process will save you a lot of time if otherwise wasted on mounting components on a poorly built case. After designing the enclosure, I 3D printed it on my Creality Ender 2 printer.
 The enclosure was built around the models of physical components
The following list contains the parts I used to build this power supply unit.
- 1 × DPS3012 Adjustable CV/CC Power Supply Module
- 1 × 100-240VAC to 36VDC AC/DC Converter Module
- 1 × DPST ON-OFF Rocker Switch (15A)
- 1 × 4mm 12V fan
- 1 × 3 Prong AC Power Socket
- 1 × 3 Prong AC Power Supply Cable
- 4 × Ring and Spade Terminals
- 2 × Banana Sockets
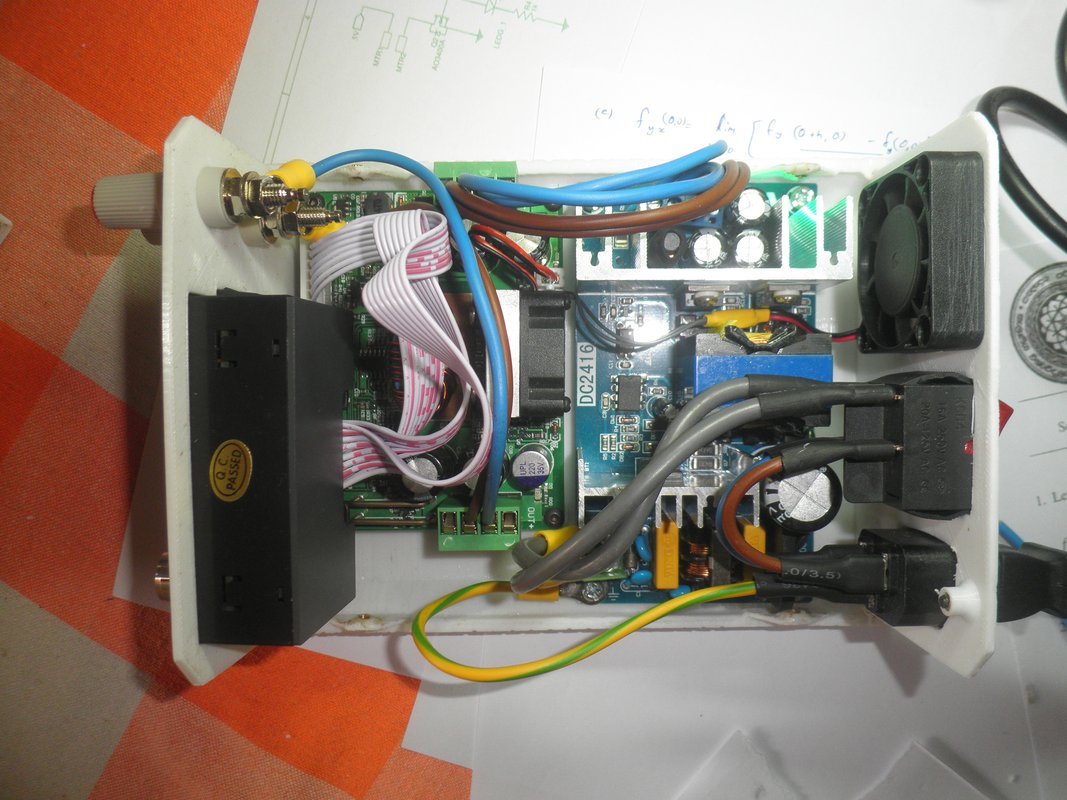
 Physical Components of the Power Supply