When connecting 18650 Li-ion cells to build battery packs, soldering conductors directly to the cells is a bad idea. The best way to connect batteries is to spot weld metal conductors onto the batteries. But these spot welding machines are usually expensive and, if you are not planning on using one professionally, buying one is pointless. There are several ways that you could build a spot welder yourself. All you need is a high enough current source to heat up and weld two metals together.
Current is the flow of electrons through a conductor. Due to the internal resistance of conductors, the kinetic energy of electrons will convert into thermal energy. If the current flow is high enough, the generated heat could be high enough to melt the conductor. This is the basic principle of spot welding. Since we are dealing with high currents, to keep the parts of the welder (electrodes and wires) from melting, we need to use high gauge wires and high conductive metals like copper for the electrodes.
 Copper Electrodes
To build these electrodes, I had to sharpen two solid copper rods that had a diameter of 6mm. Then I fixed them inside a 6mm diameter hollow copper tube with grub screws. Finally, I connected the copper wire to the other side of the copper tube with grub screws.
There are several options for us to choose as the high current source. We can use a car battery or a lithium-polymer (LiPo) battery because of their high current capacity. We could also use a capacitor bank for this task. But building one would require expensive supercapacitors. The cheapest of them all is to find an old microwave transformer.
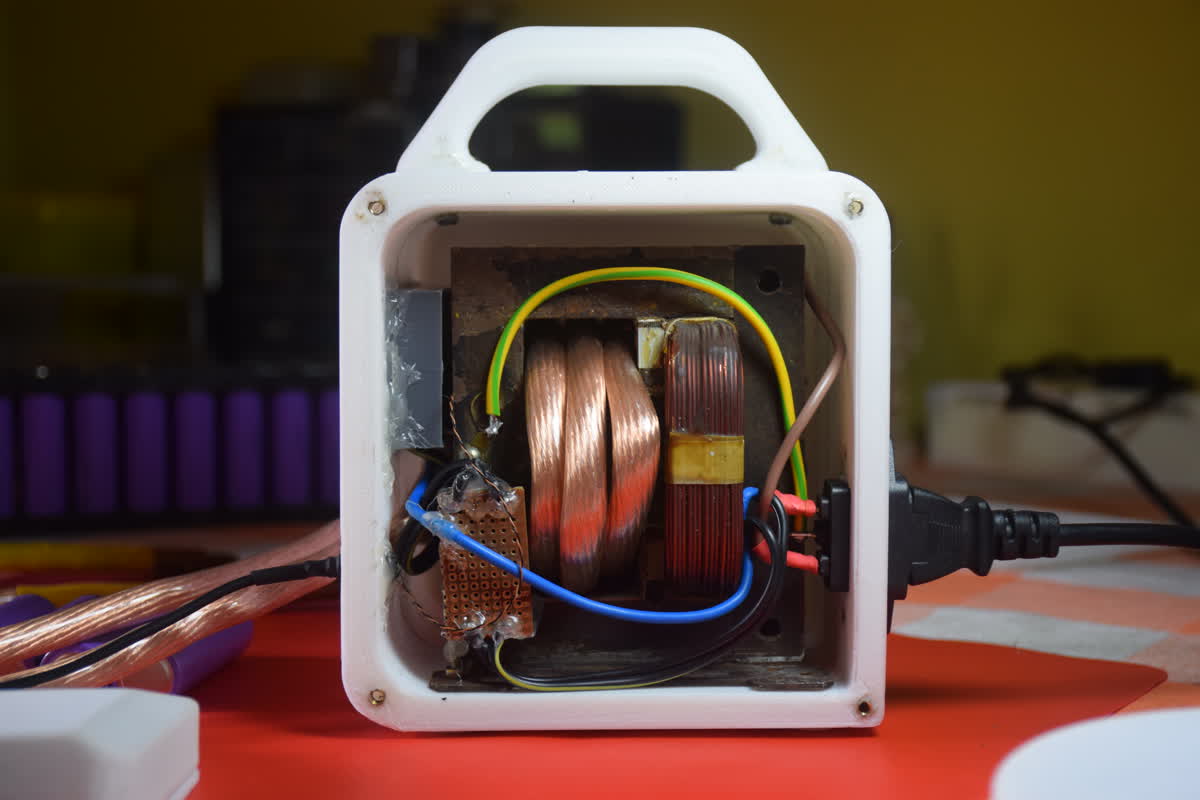 Internal view of the Spot Welder
In a microwave oven, the transformer’s task is to step up the mains voltage to about 2kV. But we don’t need a high voltage source, we need a high current. Since transformers keep their input and output power relatively the same, if we decrease the voltage at the secondary by replacing the secondary coil with a coil of fewer turns, we can achieve a high current output at the secondary side. A larger diameter wire needs to be used to accommodate this current. I’ve used a 25mm² copper cable and, it produced about 2.6V at the output. Since this voltage is very low, it is not enough to shock someone. When choosing a copper cable for the coil, select a stranded wire rather than a solid core one because stranded wires are much more flexible and easy to wrap around the transformer core.
 Spot Welder with the Foot Switch connected
To control the amount of heat applied to a single weld, I used a timer module (XY-WJ01). The minimum delay period of this module is 0.01s. By adjusting the current flowing duration through a weld joint, we can control the generated heat in the weld.
Since I’m going to be holding the two electrodes myself while welding, to initiate the weld, I need a foot-switch. I designed the enclosure for the transformer and the foot-switch using Fusion 360 and 3D printed them. I built the enclosure to withstand the total weight of the heavy transformer. I also reinforced The handle of the enclosure with screws and nuts.
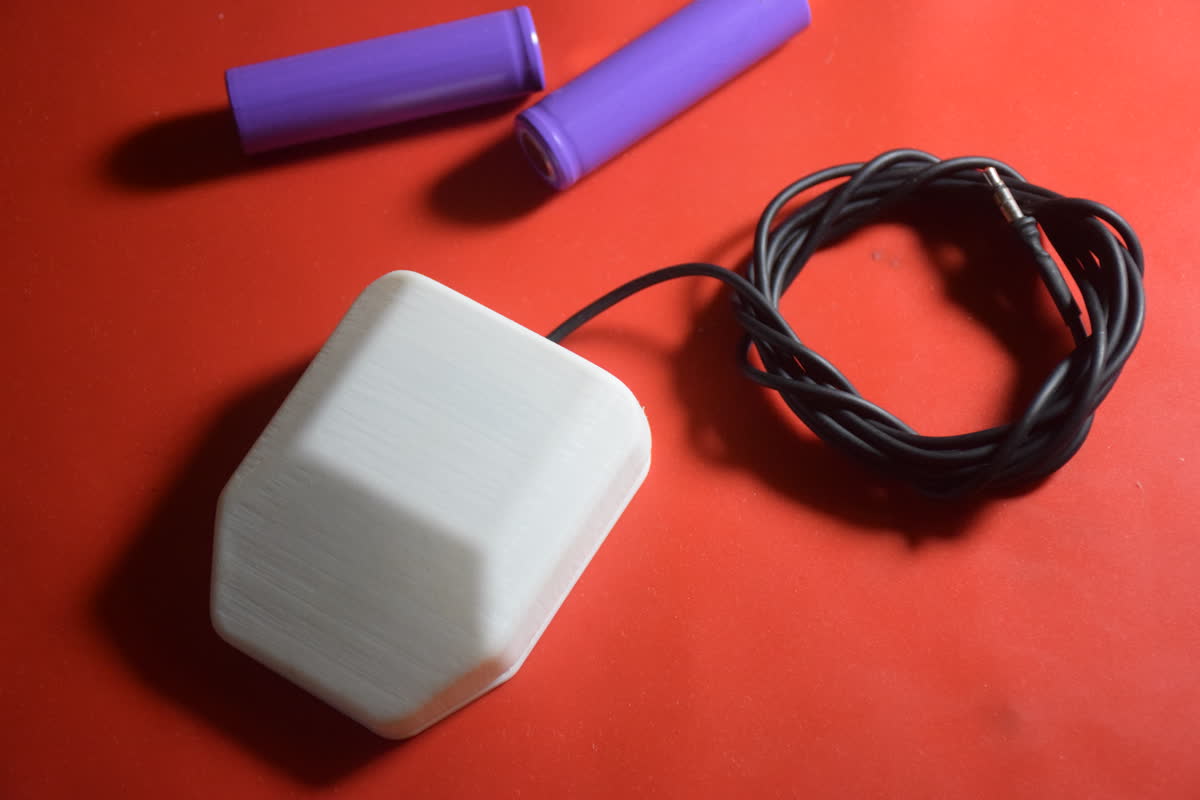 Foot Switch with the 3.5mm audio jack
I got the inspiration to build the foots-witch from Adafruit’s USB foot-switch design. I used a 3.5mm headphone jack to connect the switch to the welder.
I use the following list of parts and components for build this project.
- 1 × Microwave Transformer
- 1 ×
25mm²flexible copper wire (~2m) - 1 × Current pulse controller:
XY-WJ01 - 1 ×
230VACto5VDCconverter:HiLink-HLK-PM01 3W - 1 × Foot Switch
- 1 x
3.5mmaudio jack and a socket - 2 × Copper welding Tips
- 8 x Grub screws (
M3)
 A battery pack I built using this Spot Welder
I use this spot welder to build the battery pack shown here. You can find more information about this battery bank on my Backup Battery Pack project page.
Design Files
You can find all the CAD files of this project on my GitHub page.